


Replacing extension cord plug components and mastering extension cord repair techniques are key to ensuring a secure home environment. Over time, extension cords may incur damage due to dragging, vehicular runovers, or misuse, posing potential hazards. Promptly addressing these issues by correcting wiring faults or replacing a damaged plug is a vital DIY safety measure that not only mitigates electrical risks but also prolongs the lifespan of your extension cords, making it an indispensable skill for home maintenance.
This article is your go-to DIY guide on how to replace extension cord plug elements, complete with a detailed overview of the necessary tools, a step-by-step breakdown for removing the old plug, and the methodical procedures for an extension cord plug replacement. Adhering to these instructions will ensure that your extension cords remain safely operational, upholding both their functionality and alignment with home insurance policy standards.
Assessing the Need for Replacement
Determining the need to replace a plug on an extension cord is a critical aspect of upholding safety and efficiency in your household. Before embarking on the replacement process, it’s imperative to recognize the signs that signify a plug or cord is ready for an update. Here are some pivotal considerations to guide you:
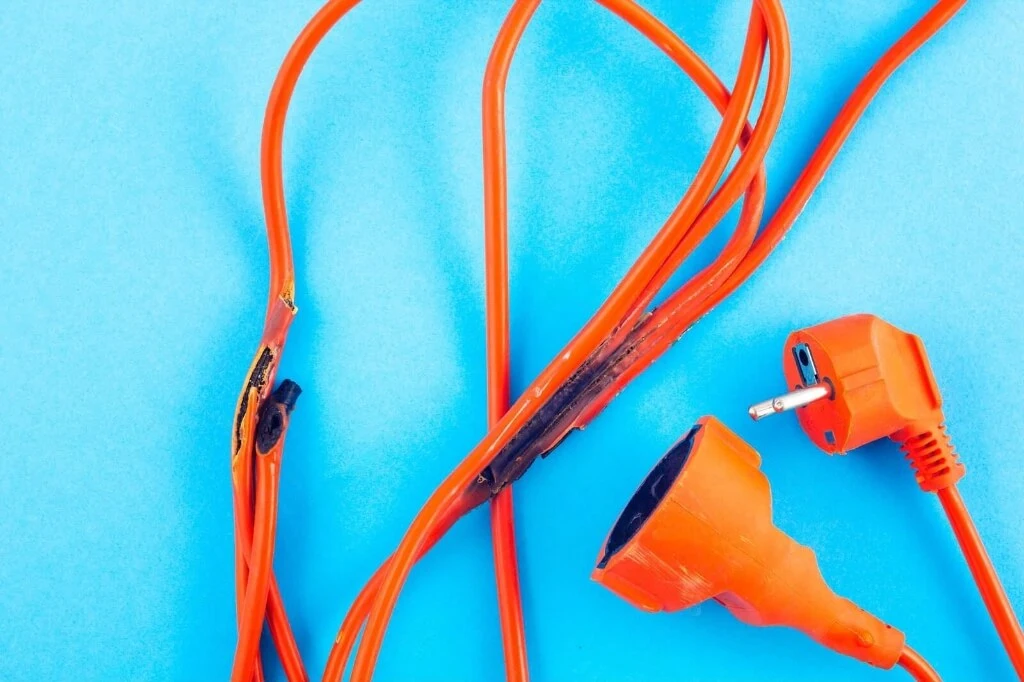
- Check for Physical Damage: Inspect the cord for any visible signs of wear and tear. Look for:
- Frayed or damaged wires.
- Be vigilant for exposed conductors resulting from cut insulation, which could precipitate short circuits, fires, or electric shocks. Understanding the extension cord wire diagram, especially a 3 prong extension cord wiring diagram, can be instrumental in preventing such electrical mishaps.
- Deterioration of the cord insulation, exposing live wires.
- Be wary of any physical damage such as nailing or stapling cords to walls, as this can compromise the integrity of the cord and create a fire hazard. In such cases, extension cord end replacement or seeking out quality replacement extension cord ends becomes necessary.
- Assess Functional Issues:
- If the extension cord is overheating, it could indicate overuse or damage.
- Loose plugs that don’t fit securely in the outlet may lead to short circuits, heightening the risks of electric shock or fire. It’s crucial to consult an extension cord wiring diagram or learn the proper technique for wiring extension cord plug to address these issues effectively.
- A detached ground prong from the plug increases the risk of electric shock.
- Employ a circuit tester to inspect for compromised outlets or power cords. An outlet that overheats under load or emits a fishy odor is an indicator of a serious electrical issue, and it may be time to consider cord plug replacement or to learn how to rewire a plug to ensure your home’s safety.
- Safety and Compatibility:
- Ensure the cord is UL certified to guarantee safety and appropriate wire count.
- Verify that the cord’s electrical rating matches the appliance it’s powering.
- Modern safety features, such as polarized blades and a comprehensive plug face that covers the outlet’s slots, are essential when wiring an extension cord. The absence of these features often signals the necessity for wiring a new extension cord.
- To ensure proper use and avoid hazards, refrain from running cords under carpets or through doorways, as this can compromise the cord’s integrity and pose safety risks. Learning how to wire an extension cord correctly is crucial to prevent such dangers.
Should you encounter any of the aforementioned issues, it’s a clear sign that it’s time to consider extension cord plug wiring or even replacing the entire cord to avert potential risks. Always ensure safety by selecting the appropriate type and rating for extension plug wiring that matches the cord in need of repair.

Gathering Necessary Tools and Materials
Commencing the task of plug replacement on an extension cord requires assembling the right tools and materials for a secure and efficient job. Below is a detailed checklist of the essentials for wiring a plug end:
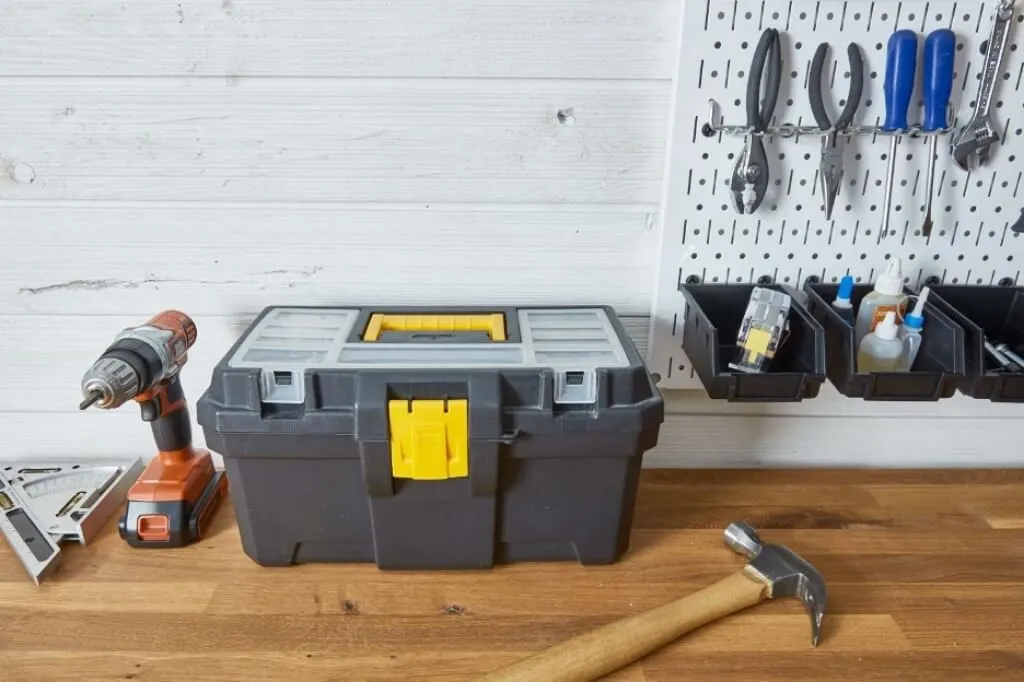
- Tools Required:
- Wire Cutters are indispensable for severing the old plug and adjusting the wires to the ideal length, an important step in the process to wire extension cord effectively.
- A Utility Knife is a must-have for any electrician, proving invaluable for carefully slicing away the extension cord’s outer insulation without harming the internal power tools.
- Wire Strippers play a pivotal role in receptacle maintenance, stripping away the insulation from individual wires, thus preparing them for secure connection to a new wall outlet plug.
- A Phillips screwdriver is essential for fastening the ground wire and bare wire to the new plug, ensuring a secure connection during assembly.
- Materials Needed:
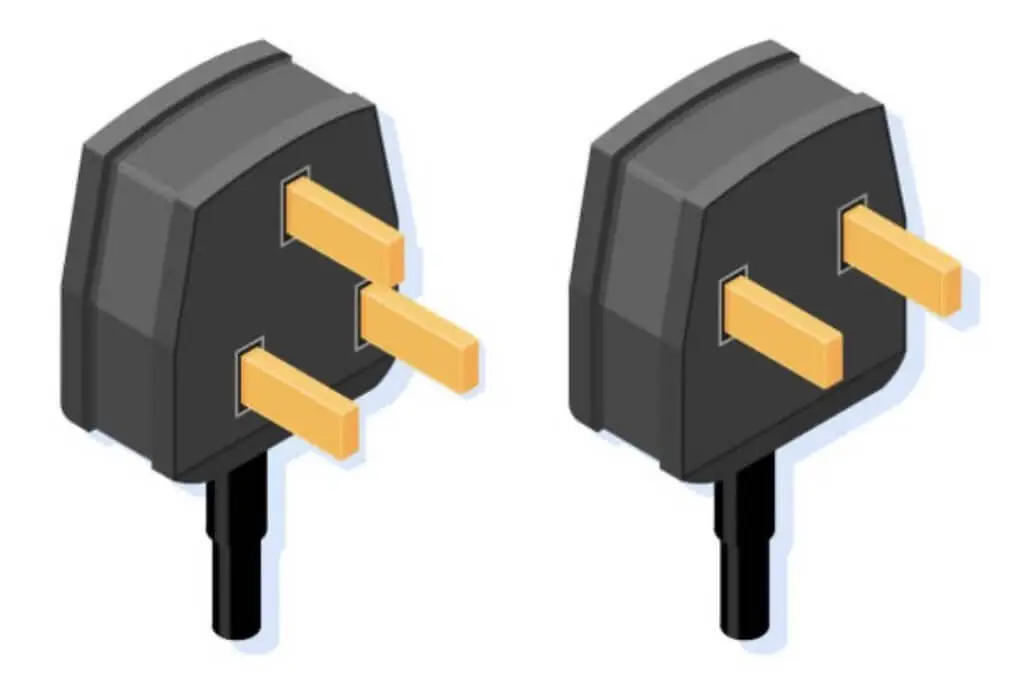
- When choosing a replacement plug, it’s important to select one that corresponds with your extension cord’s type—be it a 2-prong or a 3-prong—and gauge. Look for a female plug that specifies compatibility with your cord’s specifications on its packaging.
- Although not mandatory for the plug replacement, employing a plug-in circuit tester can be advantageous for verifying the functionality of your extension cord plug after the cord replacement process.
Additional Tips:
- Selecting the appropriate replacement plug is vital; confirm the type and ratings to ensure they match your extension cord, which is key to avoiding safety risks and guaranteeing the wire functions correctly.
- During the installation of the new plug, ensure that the wire is wrapped clockwise around the screws to establish a secure and correct connection.
Equipping yourself with the necessary tools and materials beforehand empowers you to tackle the task of wire replacement on an extension cord with confidence and preparedness.
Need a high-quality replacement plug for your extension cord? Explore our weatherproof extension cord and find the perfect match for your needs.
Removing the Old Plug

Safety is paramount before commencing any repair; make sure the extension cord is disconnected to eliminate the danger of electric shock. With the wire safely disconnected, you can then proceed with the steps to remove the old plug.
- Identify and Cut Off the Damaged Portion:
- Locate the damaged part of the cord, including the old plug.
- Employing wire cutters, meticulously trim away the old plug and any frayed sections of the wire. This crucial step guarantees the removal of any compromised areas that might present a safety risk.
- Separating the Plug Components:
- Should the old plug be designed to disassemble, wield a small screwdriver to deftly separate the components of the plug, ensuring the wire remains intact.
- Carefully insert the screwdriver between the plug’s halves and wiggle it gently. This technique will aid in prying the plug apart without inflicting harm on the wire or the rest of the cord.
- Final Removal:
- Whether the plug is a pop-open type or a sealed unit, make certain that the entire damaged segment, along with the old plug, is thoroughly detached from the wire of the extension cord.
- This examination may uncover additional damage along the wire not initially evident. If further compromised wire is detected, it may be imperative to trim the cord more to eliminate all defective wiring.
By diligently executing these steps, you’ll effectively remove the old plug and any impaired section of the wire, setting the stage for a new plug to be affixed. This meticulous approach not only heightens the safety of the DIY endeavor but also promotes the durability and effectiveness of the extension cord after the repair. It’s essential to proceed without haste and prioritize safety by handling an unplugged wire at all times.
Preparing the Cord and Installing the New Plug
With the old plug successfully removed, it’s now time to ready the wire for the new plug. Adhere to the subsequent steps with care to ensure a secure and effective plug replacement:
Preparing the Cord
- Slide the New Plug Over the Cord: Before initiating any alterations, ensure to thread the new plug onto the wire of the cord. This step is essential to circumvent the need for re-stripping and re-cutting, should you overlook this detail later.
- Cutting and Stripping:
- Cut the Outer Jacket: Approach the task with precision, carefully slicing around the cord’s outer jacket to avoid impairing the wire’s insulation. A utility knife is the ideal tool for this meticulous job.
- Split and Trim the Jacket: Employ your fingers to gently separate the jacket at the incision and pare away any surplus material. This action will reveal the wire’s insulated core for further handling.
- Strip the Wires: Utilize wire strippers to meticulously remove about 3/4 inch of insulation from the extremity of each wire, which typically includes black, white, and green colors, exposing the conductive material.
Wiring the New Plug
- Tie an Underwriter’s KnotWhile not mandatory, it’s advisable to form an underwriter’s knot with the white (neutral) and black (hot) wires inside the plug for enhanced protection. This technique helps to alleviate strain on the wire’s internal connections.
- Connect the Wires to Their Respective Terminals:
- Black (Hot) Wire: Connect to the brass terminal.
- White (Neutral) Wire: Connect to the silver terminal.
- Green (Ground) Wire: Connect to the green ground screw.
- When attaching the wires, ensure they coil in a clockwise direction around the screws. This orientation promotes a more secure connection as the screws are fastened, preventing slippage of the wire.
Securing the Plug and Final Checks
- Tighten the Plug ClampAfter establishing the correct connections, firmly secure the plug clamp onto the cord. This pivotal step is integral to prevent any potential dislodging of the wire.
- Reassemble the PlugIf the plug comes in two parts, slide the outer shell up to the wire-connected portion and join the two parts with the provided screws. Ensure the wire is properly secured and the plug body is aligned correctly.
- Double-Check ConnectionsBefore powering up, double-check that all wire connections are secure and that each wire is fastened to the correct terminal. Tighten any loose screws and verify that the plug is properly sealed.
By meticulously following these steps, you can prepare the extension cord for a comprehensive safety check and testing, confirming that the wire connections are safely operational. This routine not only preserves the functionality of your extension cords but also safeguards against potential electrical hazards.
Safety Checks and Testing
After fitting a new plug to an extension cord, it’s vital to conduct detailed safety checks and wire testing to ensure the cord’s optimal safety and functionality. Adhere to these structured steps to finalize the installation process:
Safety Checks
- Visual Inspection:
- Inspect the extension cord for any visible damage such as frayed wires, burn marks, or loose wire connections that could compromise safety.
- Verify that the cord’s grounding pin is intact, as this wire component is essential for preventing electrical hazards and ensuring user safety.
- Proper Wiring Verification:
- Employ an outlet tester to validate the correct wire configuration, including checks for open grounds, open neutrals, and reversed hot and neutral wires to ensure electrical safety.
- Utilizing a multimeter to test for continuity, voltage, and grounding is crucial in verifying the electrical integrity of the wire, ensuring the cord functions properly.
Testing Procedures
- Initial Power Test:
- Plug the cord into a known good outlet to verify it’s receiving power.
- To assess functionality, connect a test lamp or a small appliance to the wire’s outlet end and observe its operation.
- Flexibility and Connection Test:
- While the test lamp or appliance is operational, gently flex the wire at each end and keep an eye out for any flickering or interruptions in power, which may signal a connection issue.
- Advanced Testing (Optional):
- For a more thorough examination, employ a non-contact voltage sensor along the wire from the source to the output, which is effective in pinpointing breaks in the hot lead.
- If problems persist with the wire, it may be necessary to cut the cord to install a new plug or socket on the intact half, or for professional-grade cords, use specialized equipment like a Time Domain Reflectometer (TDR).
Post-Testing Safety Measures
- Once testing is complete, make sure the wire is safely disconnected from any power source before proceeding with any adjustments.
- Recheck all wire connections for tightness and confirm that any replacement plug matches the original cord’s amperage and voltage ratings to ensure compatibility and safety.
- Use a lighted extension cord for easy power indication during future uses.
By adhering to these safety checks and testing procedures, users can confidently ensure their wire-encased extension cords are safe and operational. This not only protects the devices connected to the cords but also safeguards the users from potential electrical hazards.
Conclusion
Throughout this article, we’ve emphasized the critical importance of maintaining the safety and efficiency of your home by regularly checking and, when necessary, replacing the plugs on your wire-embedded extension cords. Through detailed guidance, we’ve navigated the process of identifying a worn or damaged plug, gathering the requisite tools and materials, and meticulously executing the removal and installation of a new plug. Our journey underscores not only the practical steps involved but also the paramount importance of adhering to safety precautions at every turn to prevent potential hazards.
As we conclude, the final measure of our efforts comes through rigorous testing to ensure the wire within the cord functions safely and correctly. This essential step bridges our work from procedure to practice, providing peace of mind that the diligent work performed significantly contributes to a safer home environment. Let this article serve as a comprehensive guide not only for a single repair but also as a foundation for maintaining the overarching safety and functionality of all the electrical tools and appliances in your care.
Ready to ensure your extension cords are up to the task with a solution designed for longevity and reliability? Discover the only product you’ll need for secure, efficient power management. Get your durable, weatherproof extension cord now.